Shadcn Ecommerce Blocks: Build a Store in 7 Screens (2026)
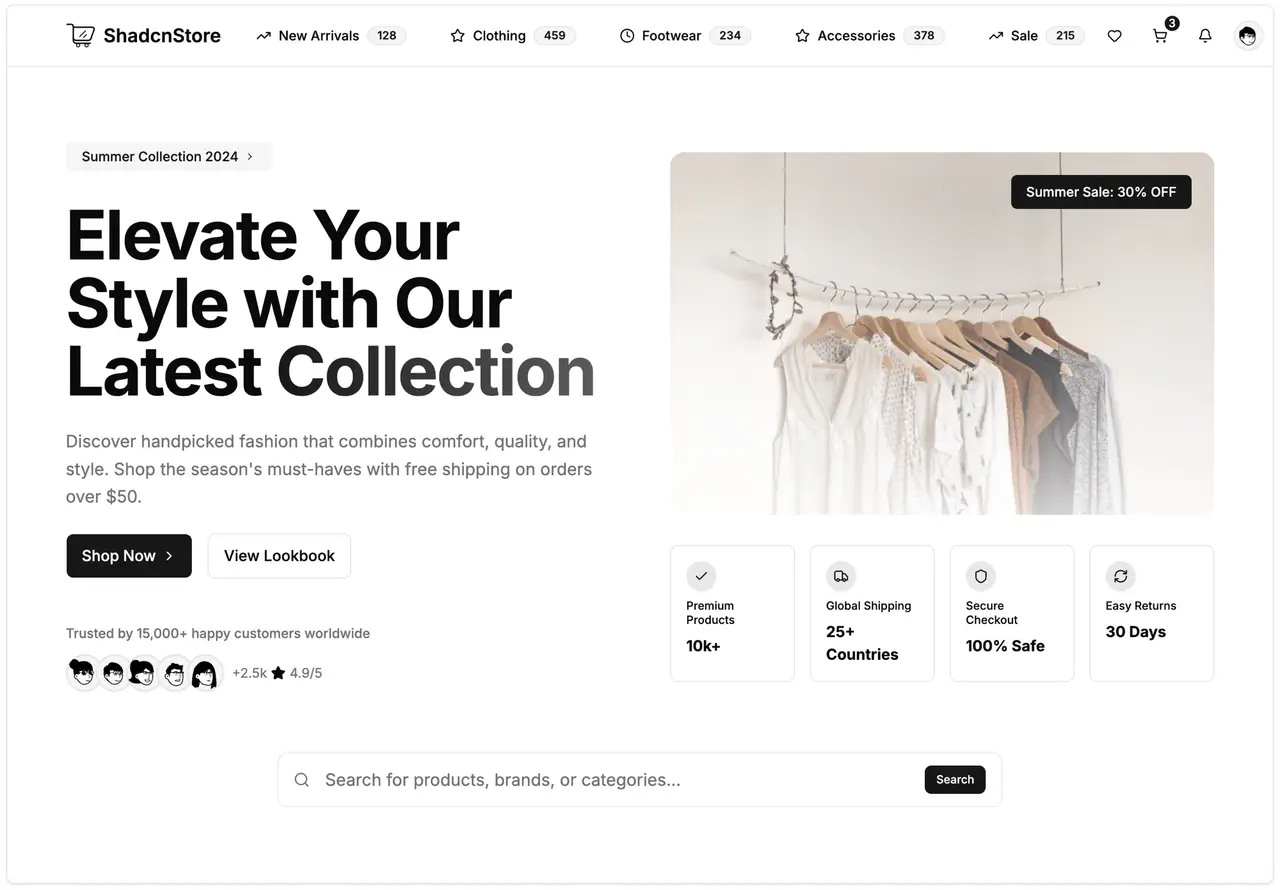
Every screen in an online store is a solved layout: a hero, a product grid, a filter rail, a product page, a cart, a checkout form, an order history. What costs you a week is rebuilding those seven from primitives on every project, then discovering on launch day that the filter rail traps keyboard focus on mobile. Assembling them from shadcn ecommerce blocks instead takes an afternoon.
This guide maps the customer's actual path through a store to the blocks that cover each step, shows the install commands, and is specific about the line where a UI kit stops helping you. That line matters more than anything else here, so it comes first.
What a component library gives you, and what it does not
shadcn/ui is not a package you install and configure. The components are React source files that get copied into your project, built on Base UI primitives and styled with Tailwind. You own them after that, which is why a client asking for a bespoke product card is a normal Tuesday rather than a fight with a maintainer's API.
Three things follow from that, and they are the reason shadcn suits commerce work:
You own the code. No runtime dependency to version-pin, no upstream breaking change to absorb mid-project.
Accessibility comes with the primitives. Base UI handles focus traps, keyboard navigation and ARIA for the interactive parts: the cart drawer, the filter combobox, the quantity stepper. These are exactly the parts hand-rolled stores get wrong.
Theming is a variable change. Design tokens are CSS variables, so matching a brand does not mean rewriting components.
Now the boundary. A block library gives you the interface and nothing behind it. Product data, inventory counts, tax and shipping calculation, payment capture, order state, fulfilment and email are all yours to bring. A checkout form block renders the fields, validates them and shows errors. It does not talk to Stripe. If you are evaluating any shadcn commerce library, including ours, this is the question to ask first, because the answer is the same everywhere and the marketing rarely says so.
Shadcn ecommerce blocks for the seven screens
Work in the order a customer moves, not the order the file tree suggests. Our e-commerce block collection is organised the same way: 58 blocks across nine sections, 13 of them free.
1. Landing
The storefront hero sets the offer and the first call to action. It ships 13 variants, because this is the screen most likely to need art direction.
2. Browse
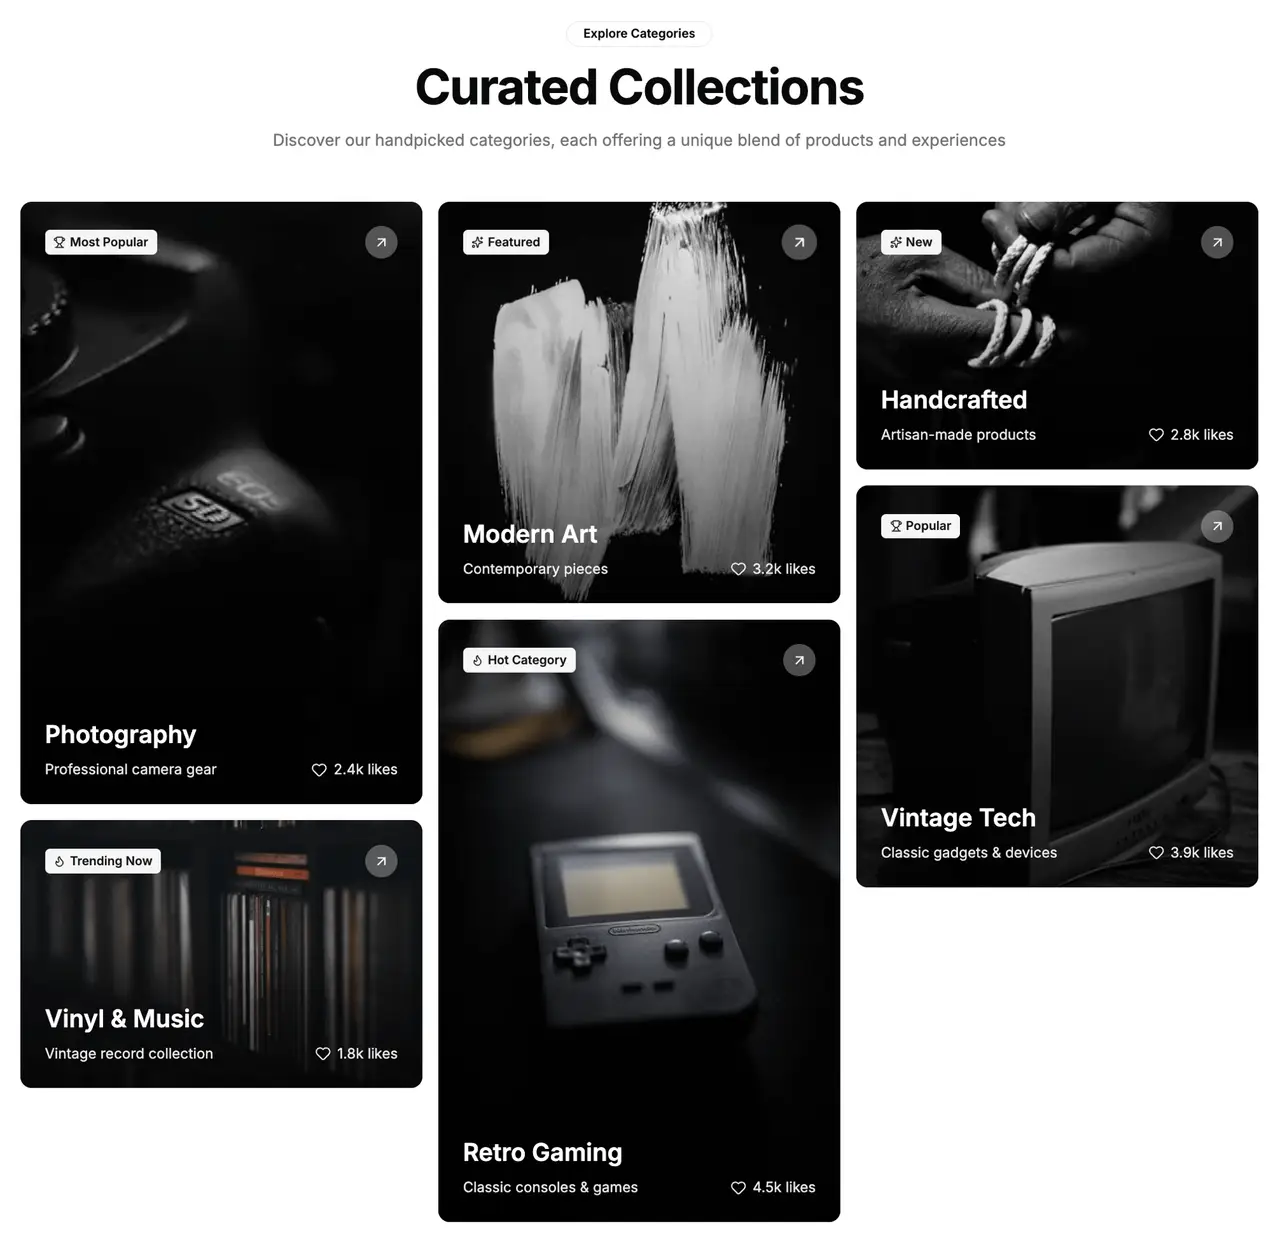
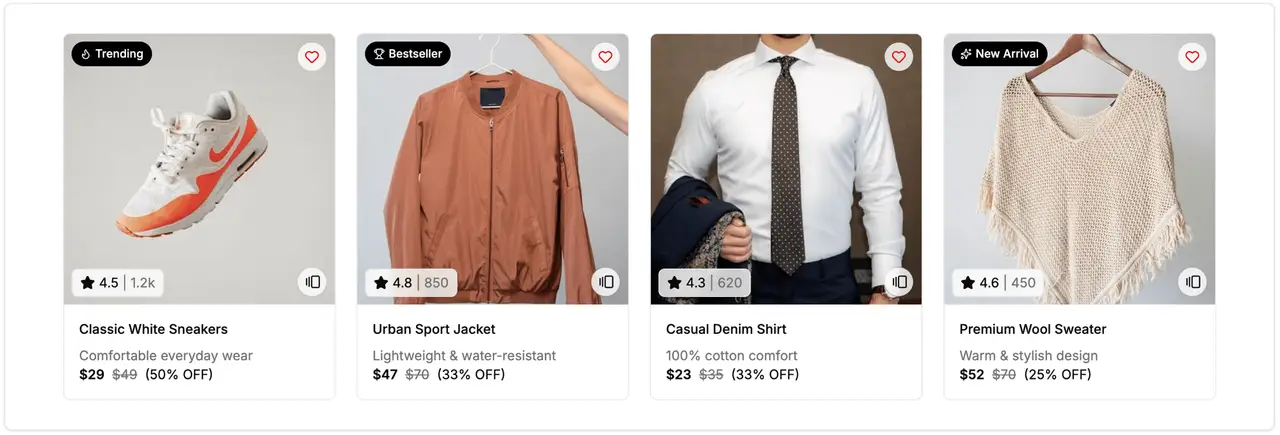
Product categories handle the top-level split, then product list grids render the results.
3. Narrow
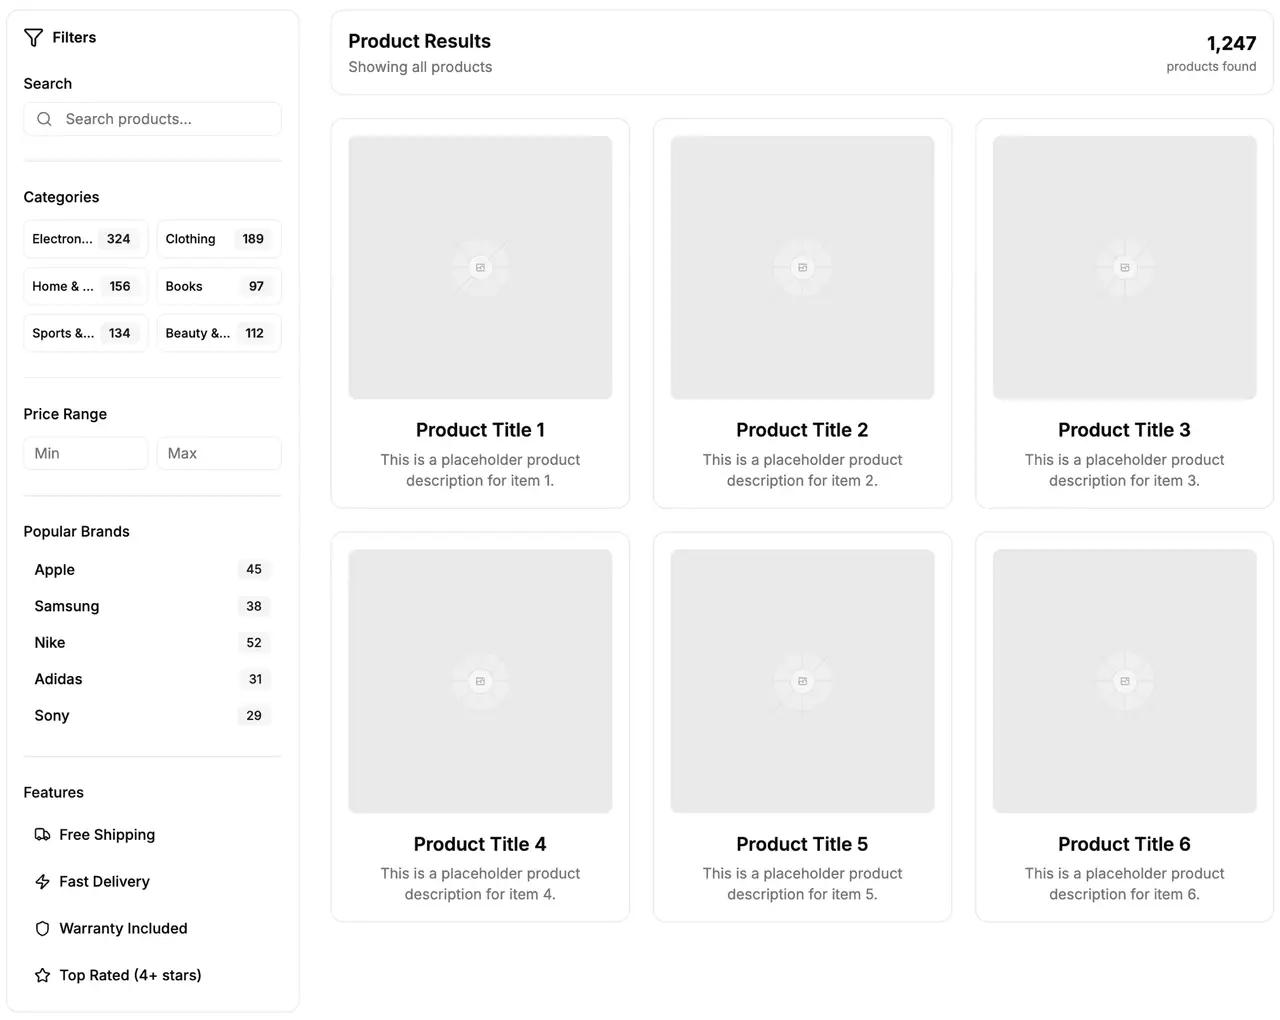
Category filters cut a large catalogue down. Treat mobile as the primary case here rather than the adaptation, because a filter rail that works on a desktop sidebar rarely survives a 375px viewport.
4. Evaluate
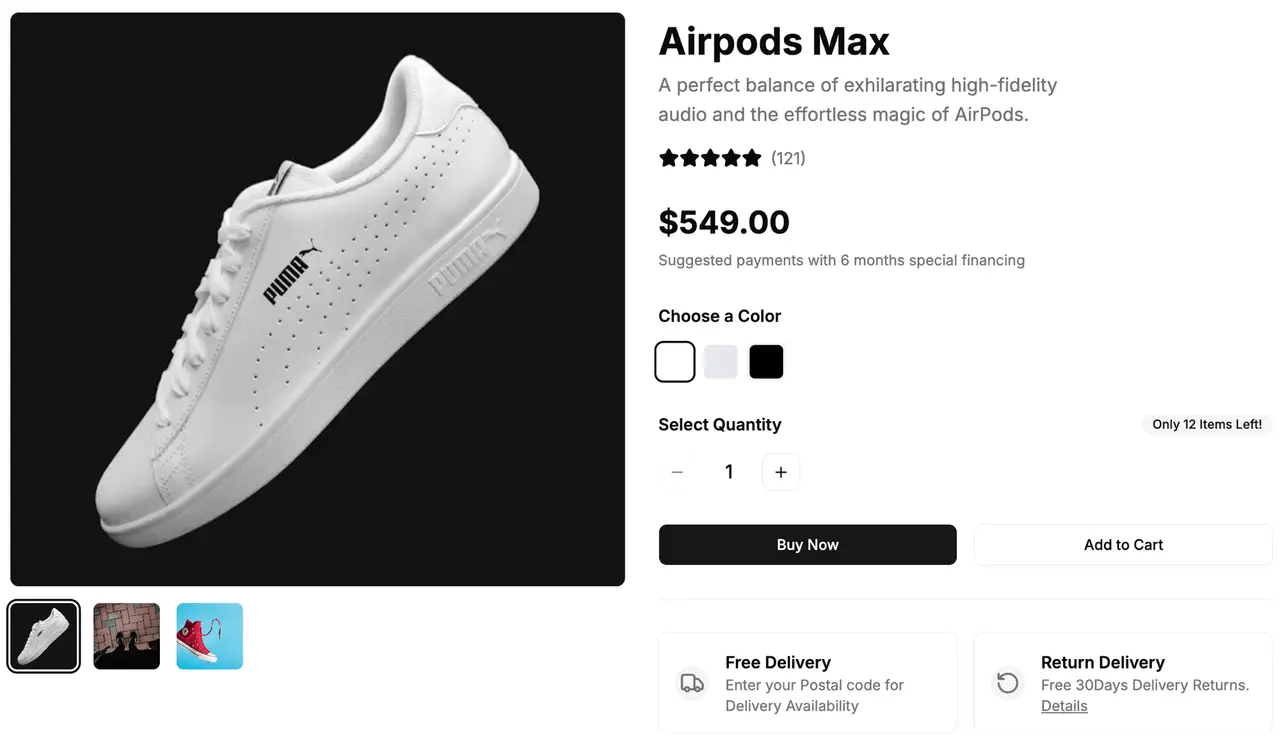
The product overview is the detail page: gallery, variant selection, add to cart.
5. Trust
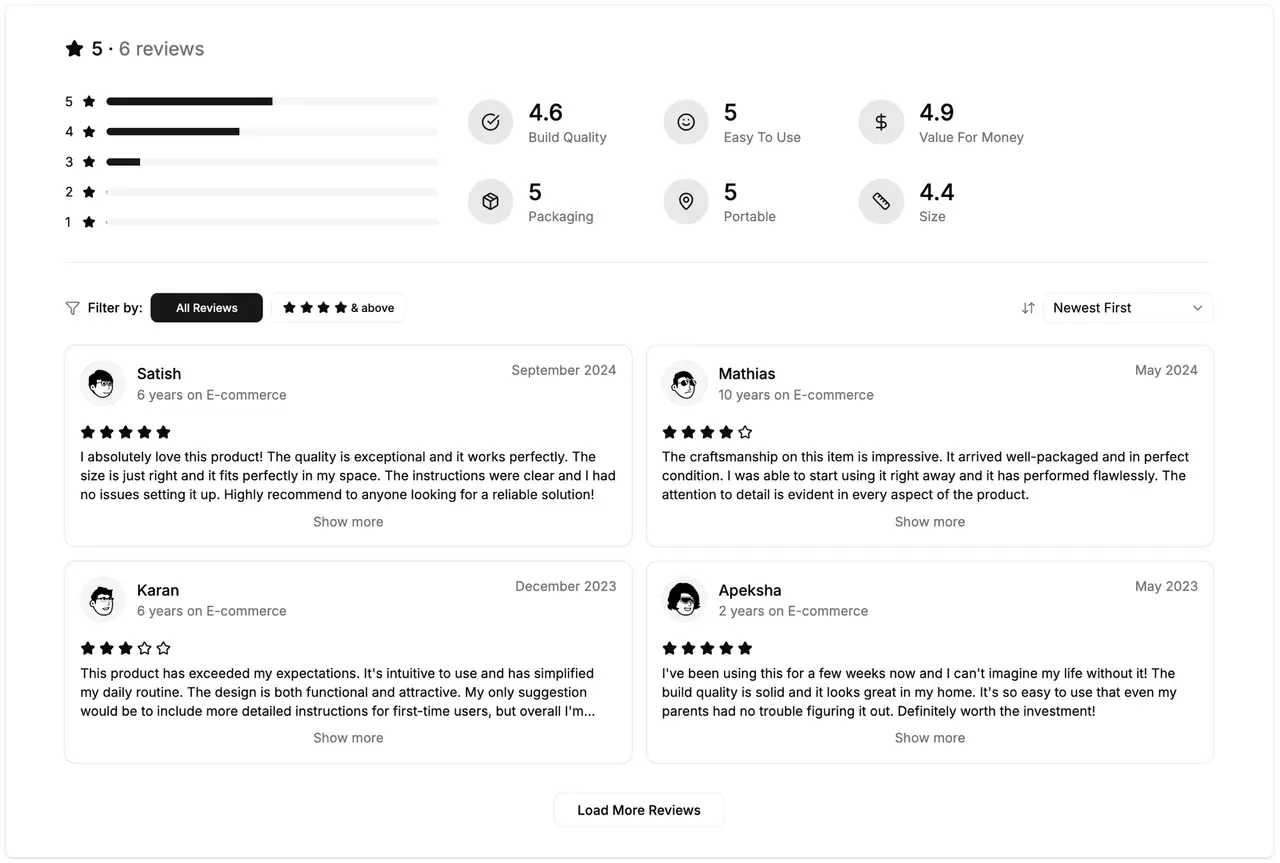
Reviews and ratings belong on the product page rather than a separate route, close to the buying decision they support.
6. Buy
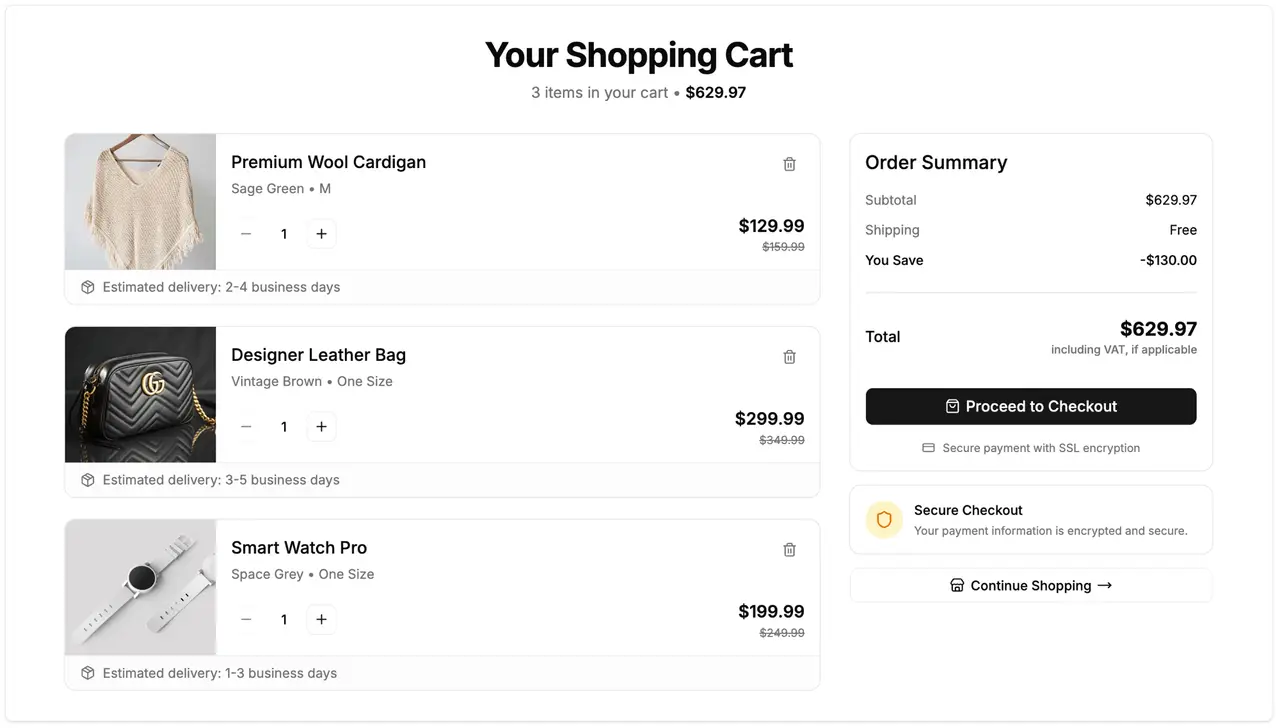
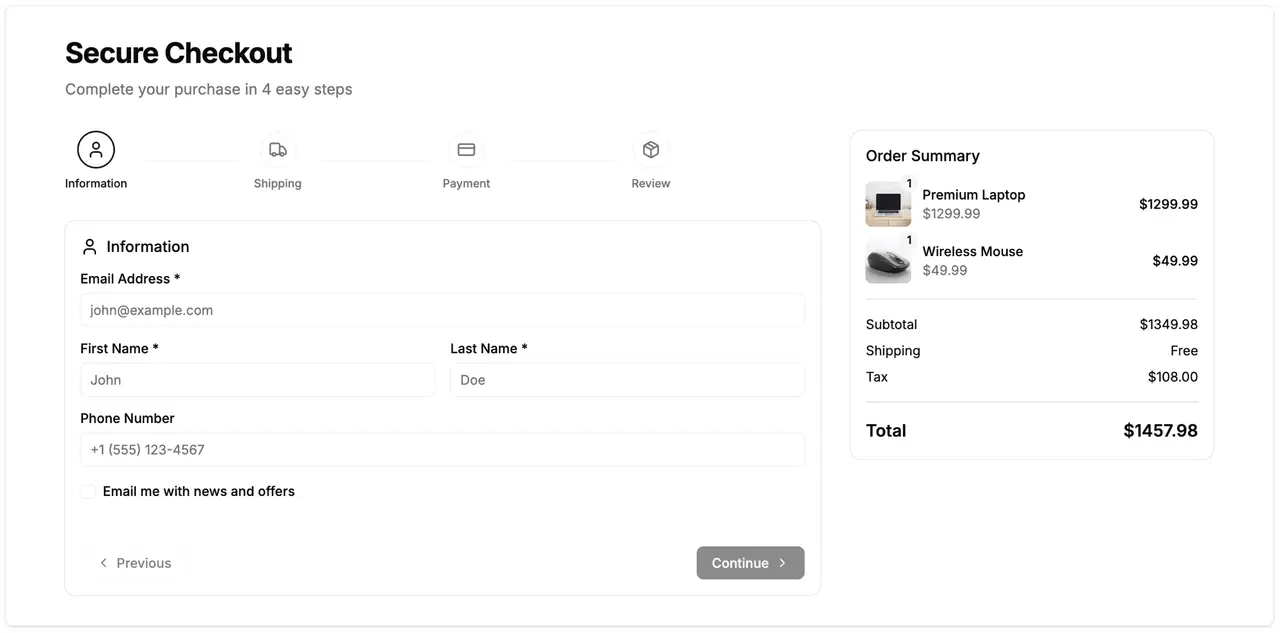
The shopping cart, then checkout forms. These two screens carry the money, and they are the ones worth spending your remaining time on.
7. Return
Order history is the screen most stores ship last and support teams need most.
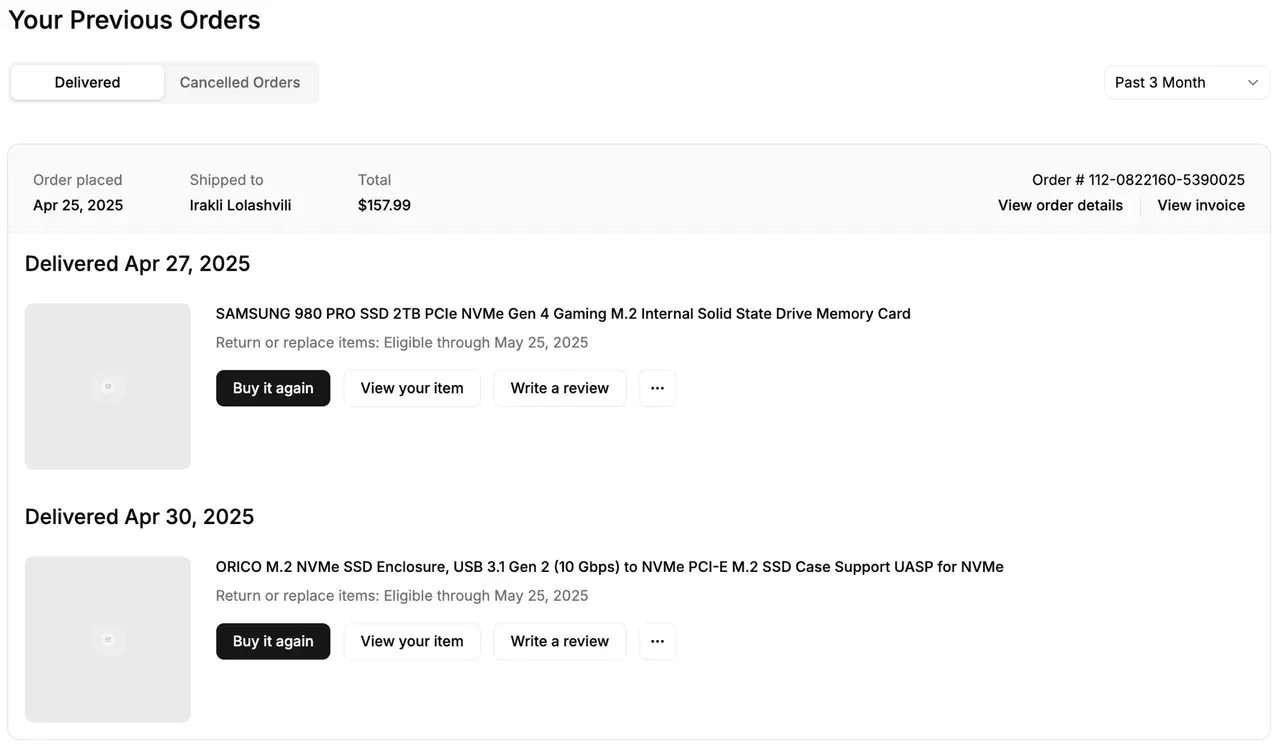
Every section has a free variant numbered -1, so the whole path from hero to order history can be built without paying for anything. That is a real starting point rather than a trial.
Screen | Section |
|---|---|
Landing | |
Browse | |
Browse | |
Narrow | |
Evaluate | |
Trust | |
Buy | |
Buy | |
Return |
Setting up
Any React setup with Tailwind works. Vite and Next.js are the two most people use.
# Vite
npm create vite@latest my-store -- --template react-ts
cd my-store
npx shadcn@latest init

# Next.js
npx create-next-app@latest my-store --ts --tailwind --app
cd my-store
npx shadcn@latest init
Blocks install through the standard shadcn CLI by URL. Free blocks need nothing but the URL:
npx shadcn@latest add https://shadcnstore.com/r/storefront-hero-1.json
npx shadcn@latest add https://shadcnstore.com/r/product-card-1.json
npx shadcn@latest add https://shadcnstore.com/r/shopping-cart-1.json
npx shadcn@latest add https://shadcnstore.com/r/checkout-form-1.json
Premium blocks take a licence key as a query parameter:
npx shadcn@latest add "https://shadcnstore.com/r/checkout-form-2.json?token=YOUR_LICENSE_KEY"The CLI resolves each block's dependencies, so pulling a cart also pulls the primitives it needs. Run init before your first block or the CLI has no components.json to write into.
Wiring blocks to real data
Blocks ship with local sample data so they render before your API exists. Swapping that for real data is the first real work, and it is where the shape of your project gets decided.
Keep the presentational component free of fetching. Give it typed props, load data in the route, and pass it down. This keeps the block replaceable when you change providers, and keeps it testable without a network.
// app/products/page.tsx
import { ProductGrid } from "@/components/product-card-1"

export default async function ProductsPage() {
  const products = await getProducts()   // your API, CMS, or database
  return <ProductGrid products={products} />
}
Two decisions worth making early, because retrofitting either is unpleasant:
Where cart state lives. Client state is fine until you need it to survive a refresh or follow a user between devices. Decide before checkout, not after.
Who owns price. Never let the client send an amount to your payment provider. Send product IDs and quantities, calculate server-side, charge that.
Checkout, honestly
A checkout block gives you field layout, validation states, error messaging and a summary panel. Payment is a separate integration you write against Stripe, Adyen, Polar or whoever takes your money. Budget for it as its own task rather than an afternoon of wiring.
The parts that stay yours: creating a payment intent server-side, mounting the provider's card element inside the block's layout, handling the webhook that confirms the charge, marking the order paid, and dealing with the customer who closed the tab mid-payment. That last one is the case most stores miss, and the reason order state belongs in your database rather than in the provider's dashboard.
Where the other options sit
Shadcnblocks covers a lot of ground across marketing and app UI, so if breadth matters more to you than commerce depth, start there. CommerCN is built specifically for shadcn commerce and worth a second opinion on a particular screen. Creative Tim and Shadcn Studio both ship commerce sections inside broader libraries. All are a search away, and you should compare them before spending money with anyone, us included.
What we do differently is cover the full path rather than the popular screens. Hero and product grid blocks are easy to find anywhere. Order history and checkout are not, and they are the screens that decide whether a store is finished.
Frequently asked questions
Can I use these blocks with Next.js App Router?
Yes. The blocks are React components with no framework coupling. Keep data fetching in server components and pass results as props; add "use client" only to the pieces that need interactivity, such as the cart drawer or a variant picker.
Do I need a licence to try them?
No. Of the 58 e-commerce blocks, 13 are free, including one in every section, so you can build the whole flow before deciding. Licence terms for the rest are on the pricing page.
Do these blocks handle payments?
No, and no UI library does. You get the checkout interface. Creating the charge, verifying the webhook and storing order state are yours to build against your payment provider.
How do I match my brand?
Edit the CSS variables in your theme. Because the components read design tokens rather than hardcoded colours, changing the token changes every block at once. The components live in your repo, so anything the tokens do not cover you edit directly.
Will updates overwrite my changes?
Only if you re-run the add command for a block you have edited, which overwrites that file. Once a block is in your project it is your code, and nothing changes it unless you ask.
Start with the flow, not the catalogue
Install the nine free -1 blocks, wire them to placeholder data, and click through the whole path from hero to order history before writing anything custom. You will find the gaps in your data model in about an hour, which is considerably cheaper than finding them during checkout integration.
Browse the e-commerce blocks to see each variant, or the templates if you would rather start from a full project than assemble one.